I have the privilege of being the grandson to two amazing grandmothers (aka Lolas in Tagalog/Filipino), both of which are named after two of the most beautiful symbols: a pearl and a rose. Lola Rosario passed away when I was just a kid but my Lola Perlita (aka Pearl and aka Lola Mommy to me) lived with us in our home for a good chunk of my developing years. For anyone who has lived at home with a Filipino grandma, you knew that meant you would never go hungry as long as you stayed under that roof.
Lola Mommy woke up at the crack of dawn just cooking. It was her loving gesture and maternal instinct kicking in, but it was also almost robotic. Every day we always had food ready when we woke up or ran out the door for school and work. But the one thing she would always make that got me plus points with my friends: fried filipino style eggrolls, otherwise known as lumpiang shanghai.
I always loved how Lola Mommy’s eggrolls were crispier and tastier than any other eggrolls I found at restaurants or family parties. Hers were rolled tight and extra crispy. And that was the secret: the wrapper to meat ratio was spot on! A tight roll meant more layers of crispy wrapper to add to the crunch, but a thin line of meat meant not too much moisture or chew. It was always just right and now there is just something about them that always brings me back to her cooking and makes me remember her. Here’s her recipe.
Time:
- Prep 30-45 minutes (depending on how fast you can roll & how many you want)
- Cook time 10 minutes per batch (assuming you fit 4-5 10-inch rolls in a shallow pan)
Ingredients:
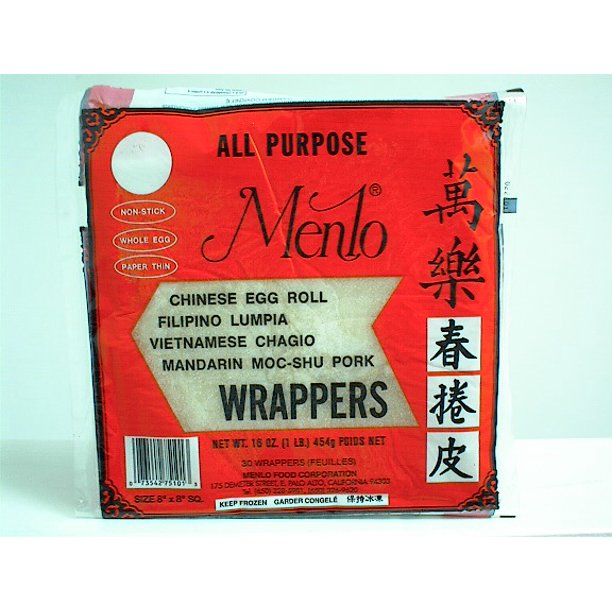
- 1 packet of eggroll / lumpia wrappers (try to find the Filipino kind) – do NOT get rice wrappers by mistake. You may need to make a trip to the Asian store to find lumpia wrappers in the freezer section or search online. My family swears by the Menlo brand, but others exist! Look for “Filipino Lumpia” in the title!
- 1 lb of ground beef or ground pork (or any ground meat combination; Lola Mommy once made fish eggrolls)
- 1 stalk of celery chopped fine
- 1 large carrot chopped fine
- ½ onion chopped fine
- ½ tsp salt to taste
- ¼ tsp pepper to taste
- If you like an optional seasoning is Mama Sitas Lumpiang Shanghai Mix (Fried Spring Roll Seasoning Mix) 2 Pack
– because you can never go wrong with Mama Sita
- Oil for frying
- Small bowl of water
Steps
- Prep and chop all the vegetables.
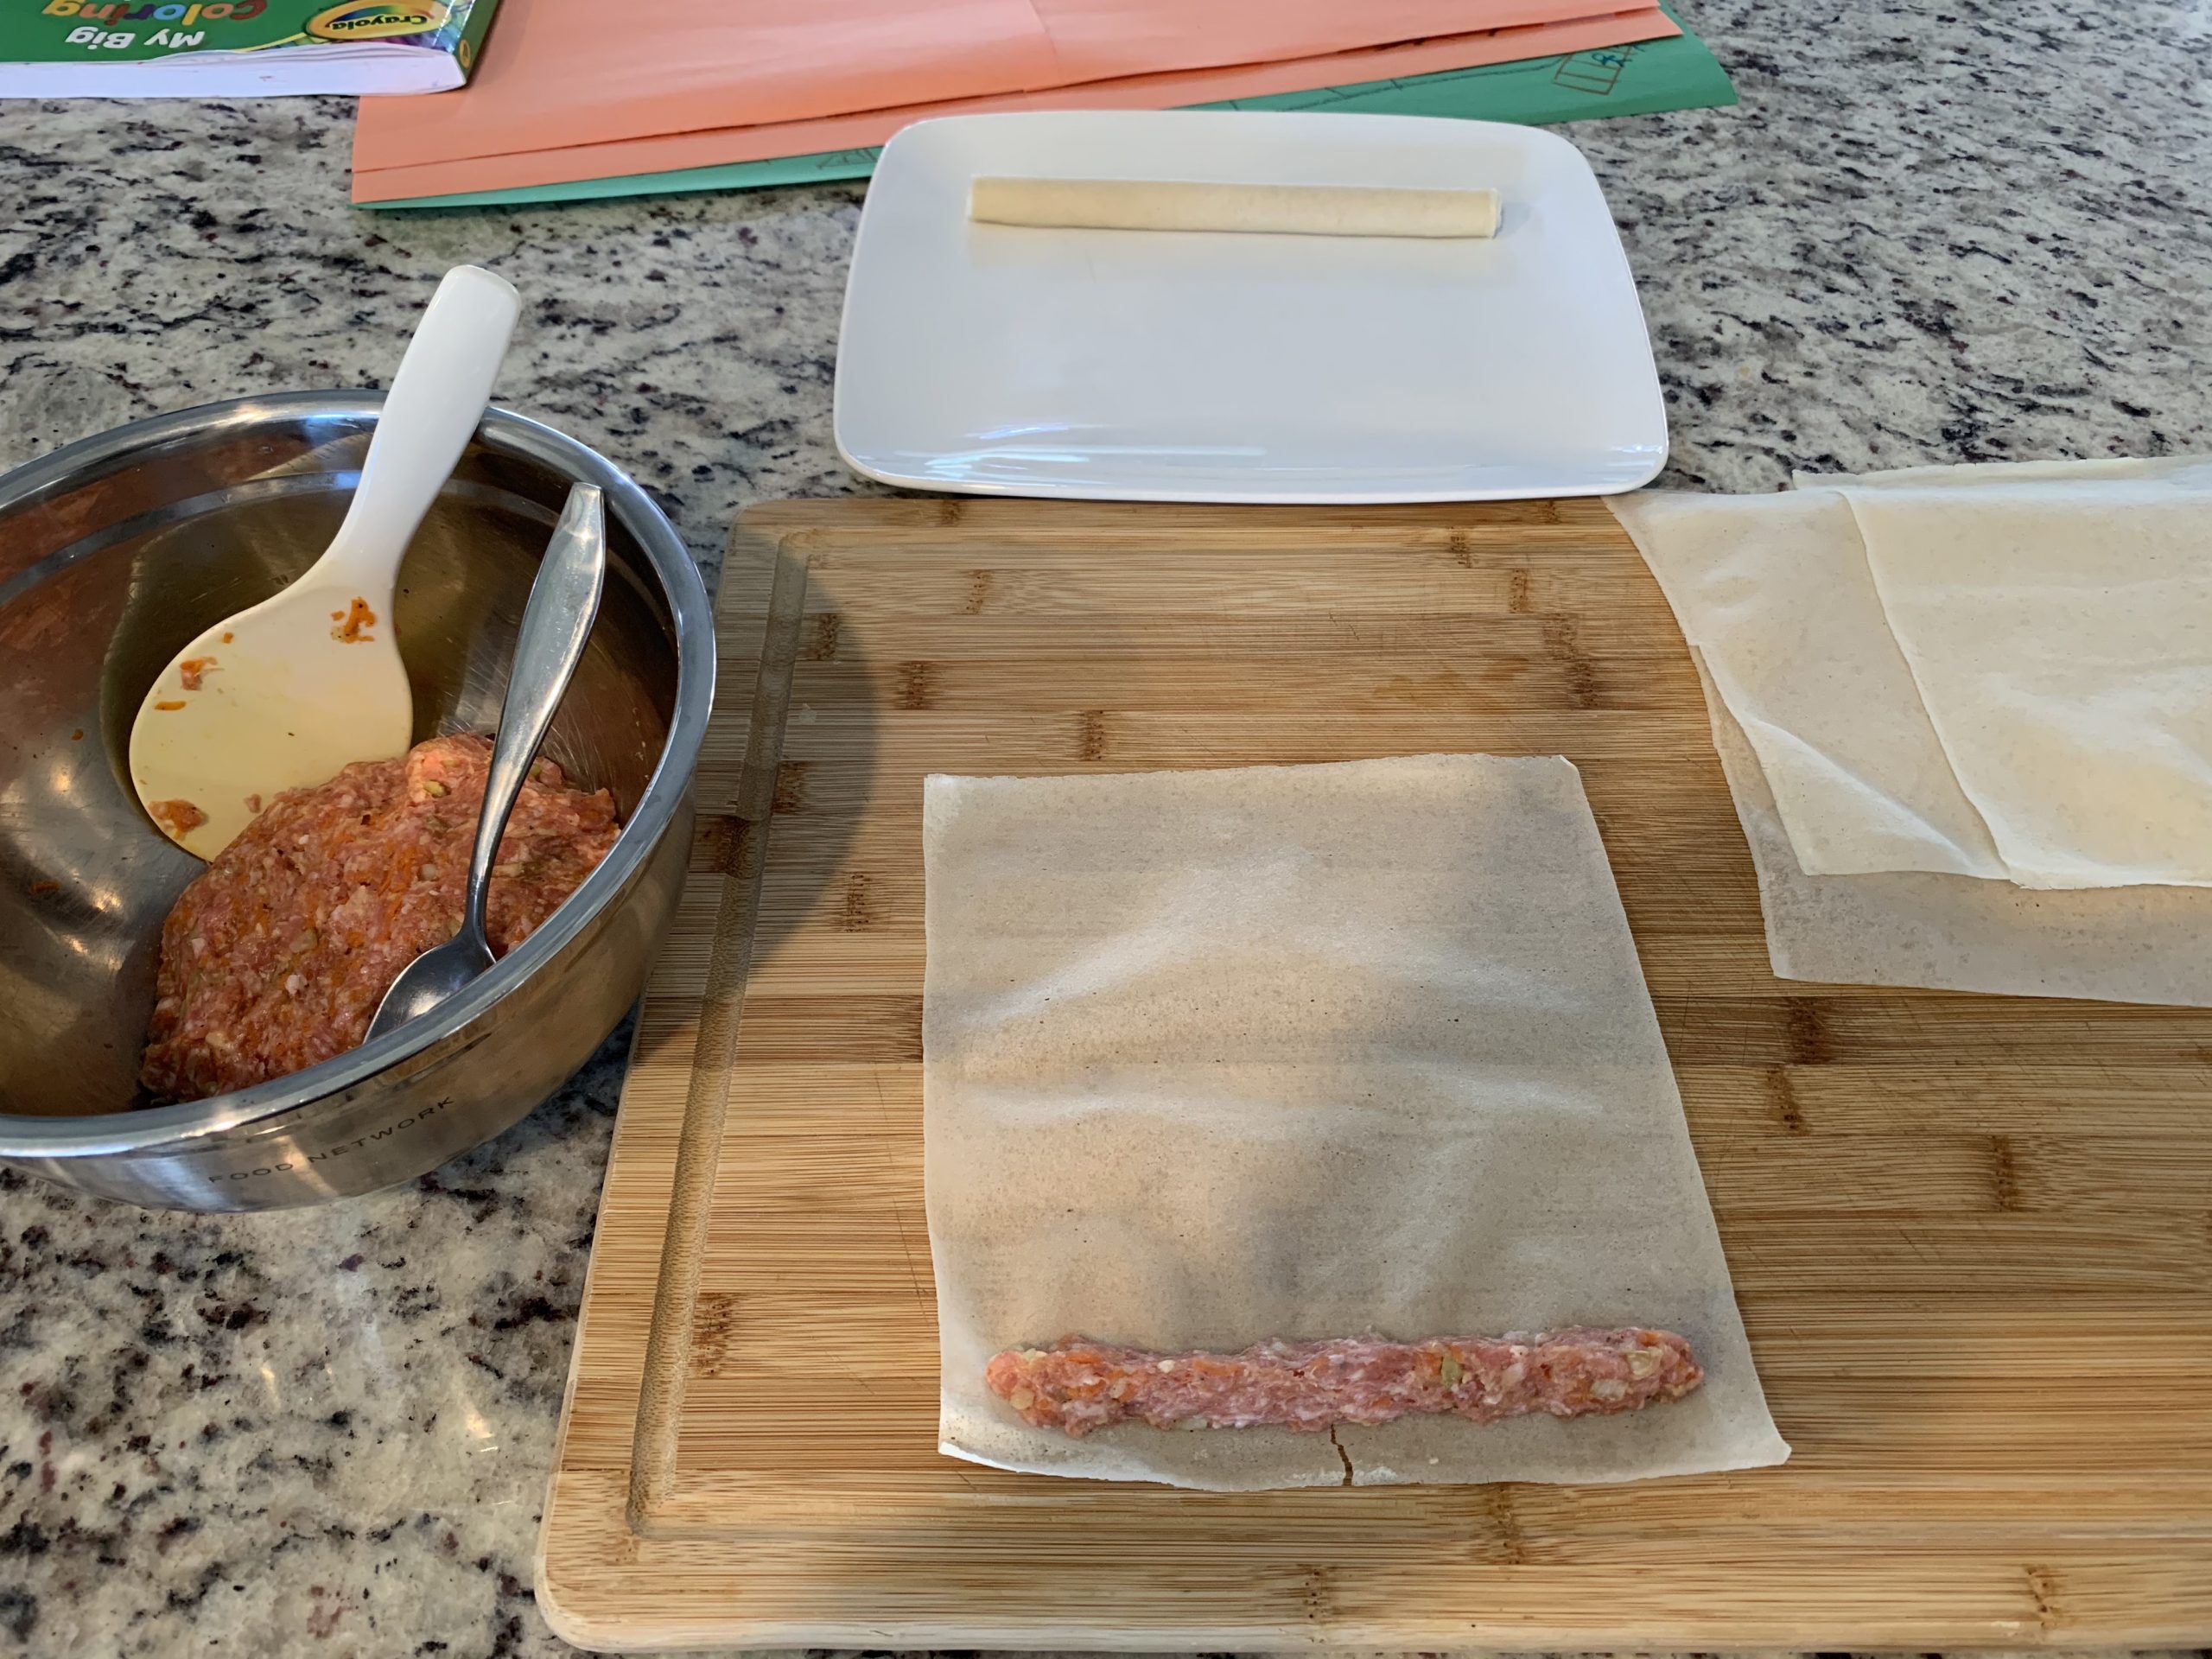
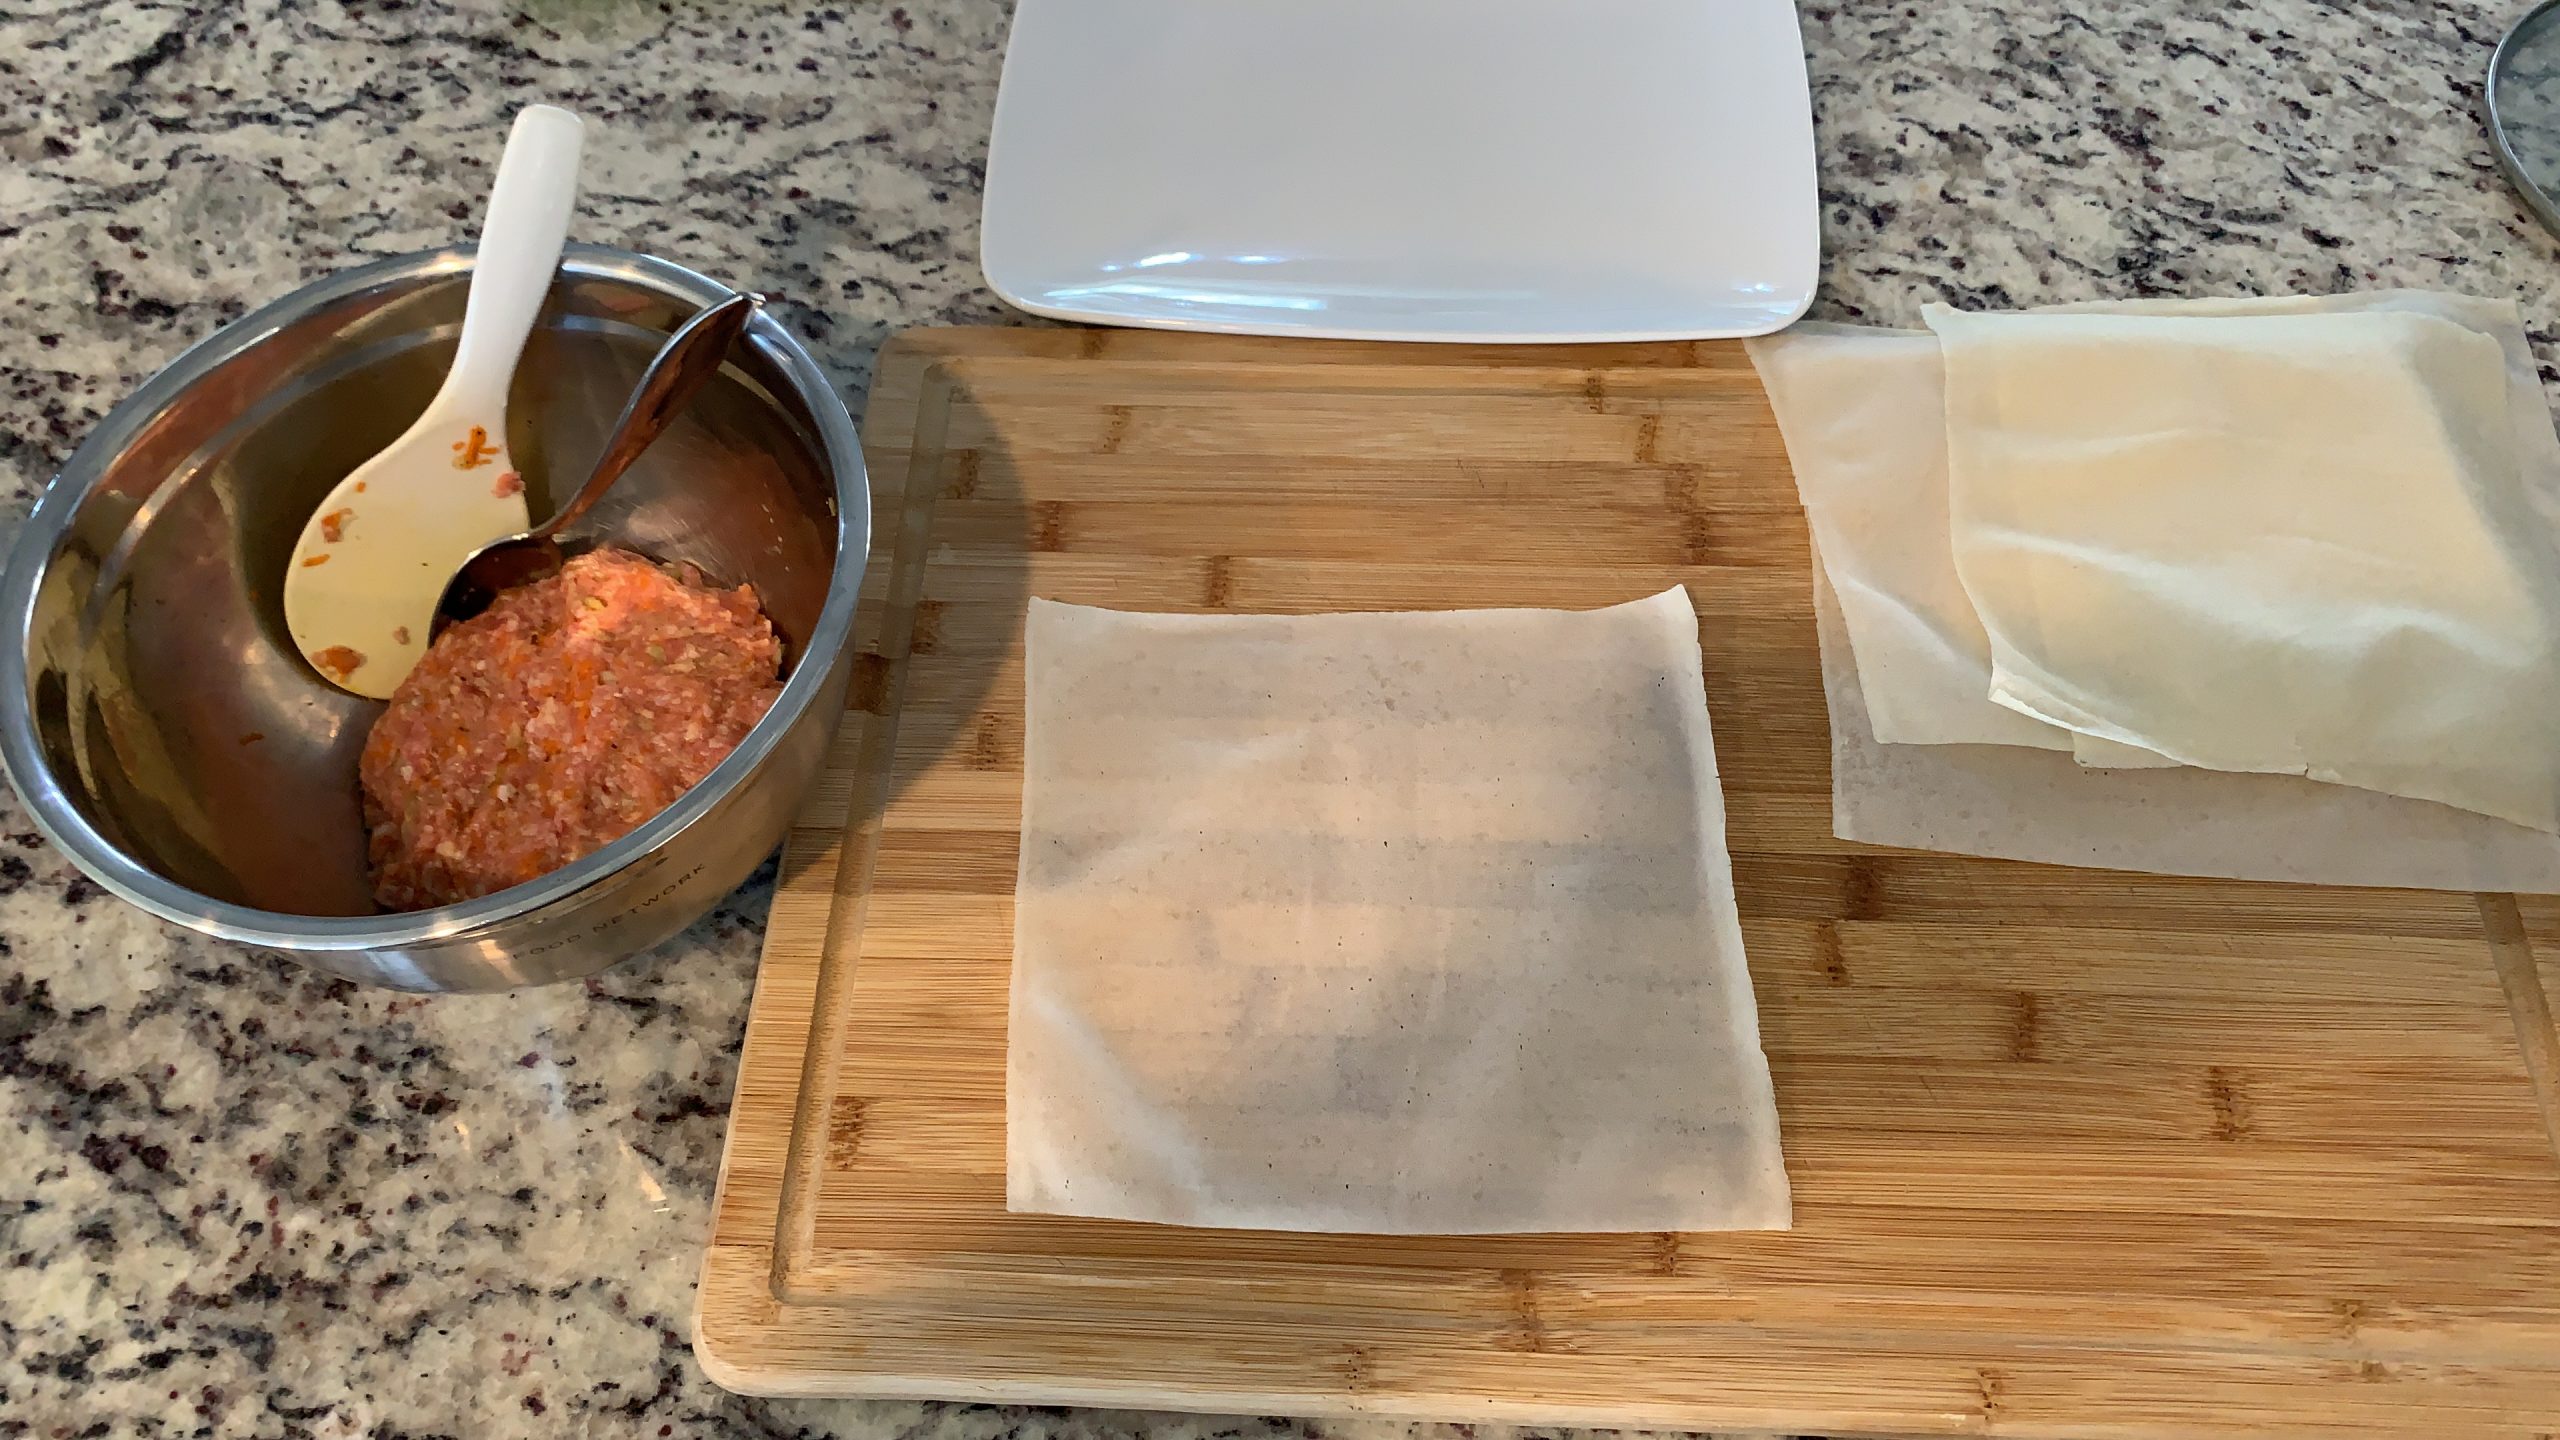
- Place the ground meat in a mixing bowl. Add all vegetables plus salt and pepper and mix until you incorporate evenly throughout the meat.
- Most lumpia wrappers come frozen in packs, so I highly recommend defrosting first before attempting to separate. Take the defrosted eggroll wrappers and separate each one by peeling them off one by one and setting one on top of the other in a new pile. I used to watch my grandmother carefully peel each wrapper from the stack and set them aside. It was a slow process because you have to be very careful not to rip them. These things are paper thin, but that is what gives them that signature crunch.
- Once you have a set of wrappers separated and ready to use you can begin rolling. To roll, take one wrapper and set down on the table or a cutting board. Each lumpia wrapper is about 10 inches by 10 inches (give or take). For a wrapper that size I take about 1-1/2 tablespoons worth of ground meat mixture and place it in the middle of one end of the wrapper. Then I slowly pinch back the meat towards each end from the middle until I get a thin, “round” line of ground meat even from one end to the other, leaving about ¼ inch of space on each end.
Again, the secret to my Lola’s recipe was this thin line of meat. It might be tempting to add more but a thicker center of meat means you have to cook them longer and you will get more moisture expelled from the meat into your wrapper. More meat also means more surface area each roll of the wrapper has to cover, and less individual layers of wrapper all around. - When the thin line of meat is laid out, take the end below the meat and roll it tightly over the meat so you have a good, tight base to roll the rest of your lumpia. Just like you would tightly roll a cigar, you want that lumpia to be rolled tight!
- Before you finish closing the roll, take two fingers and dip them in water, then rub a thin layer of water across the top like you were sealing it like an envelope. It should help the wrapper get a little sticky enough to hold it. In my experience it won’t be super adhesive and that’s okay. I lay mine down on the roll end to keep the wrapper sealed until I’m ready to cook. Some people use eggs in this process because it may be stickier, which is fine too.
- After rolling, set it aside on a plate until you’re ready to fry. They even store well in the freezer, so if you have large enough Tupperware or a tin tray, you can roll and stack them there to enjoy later.
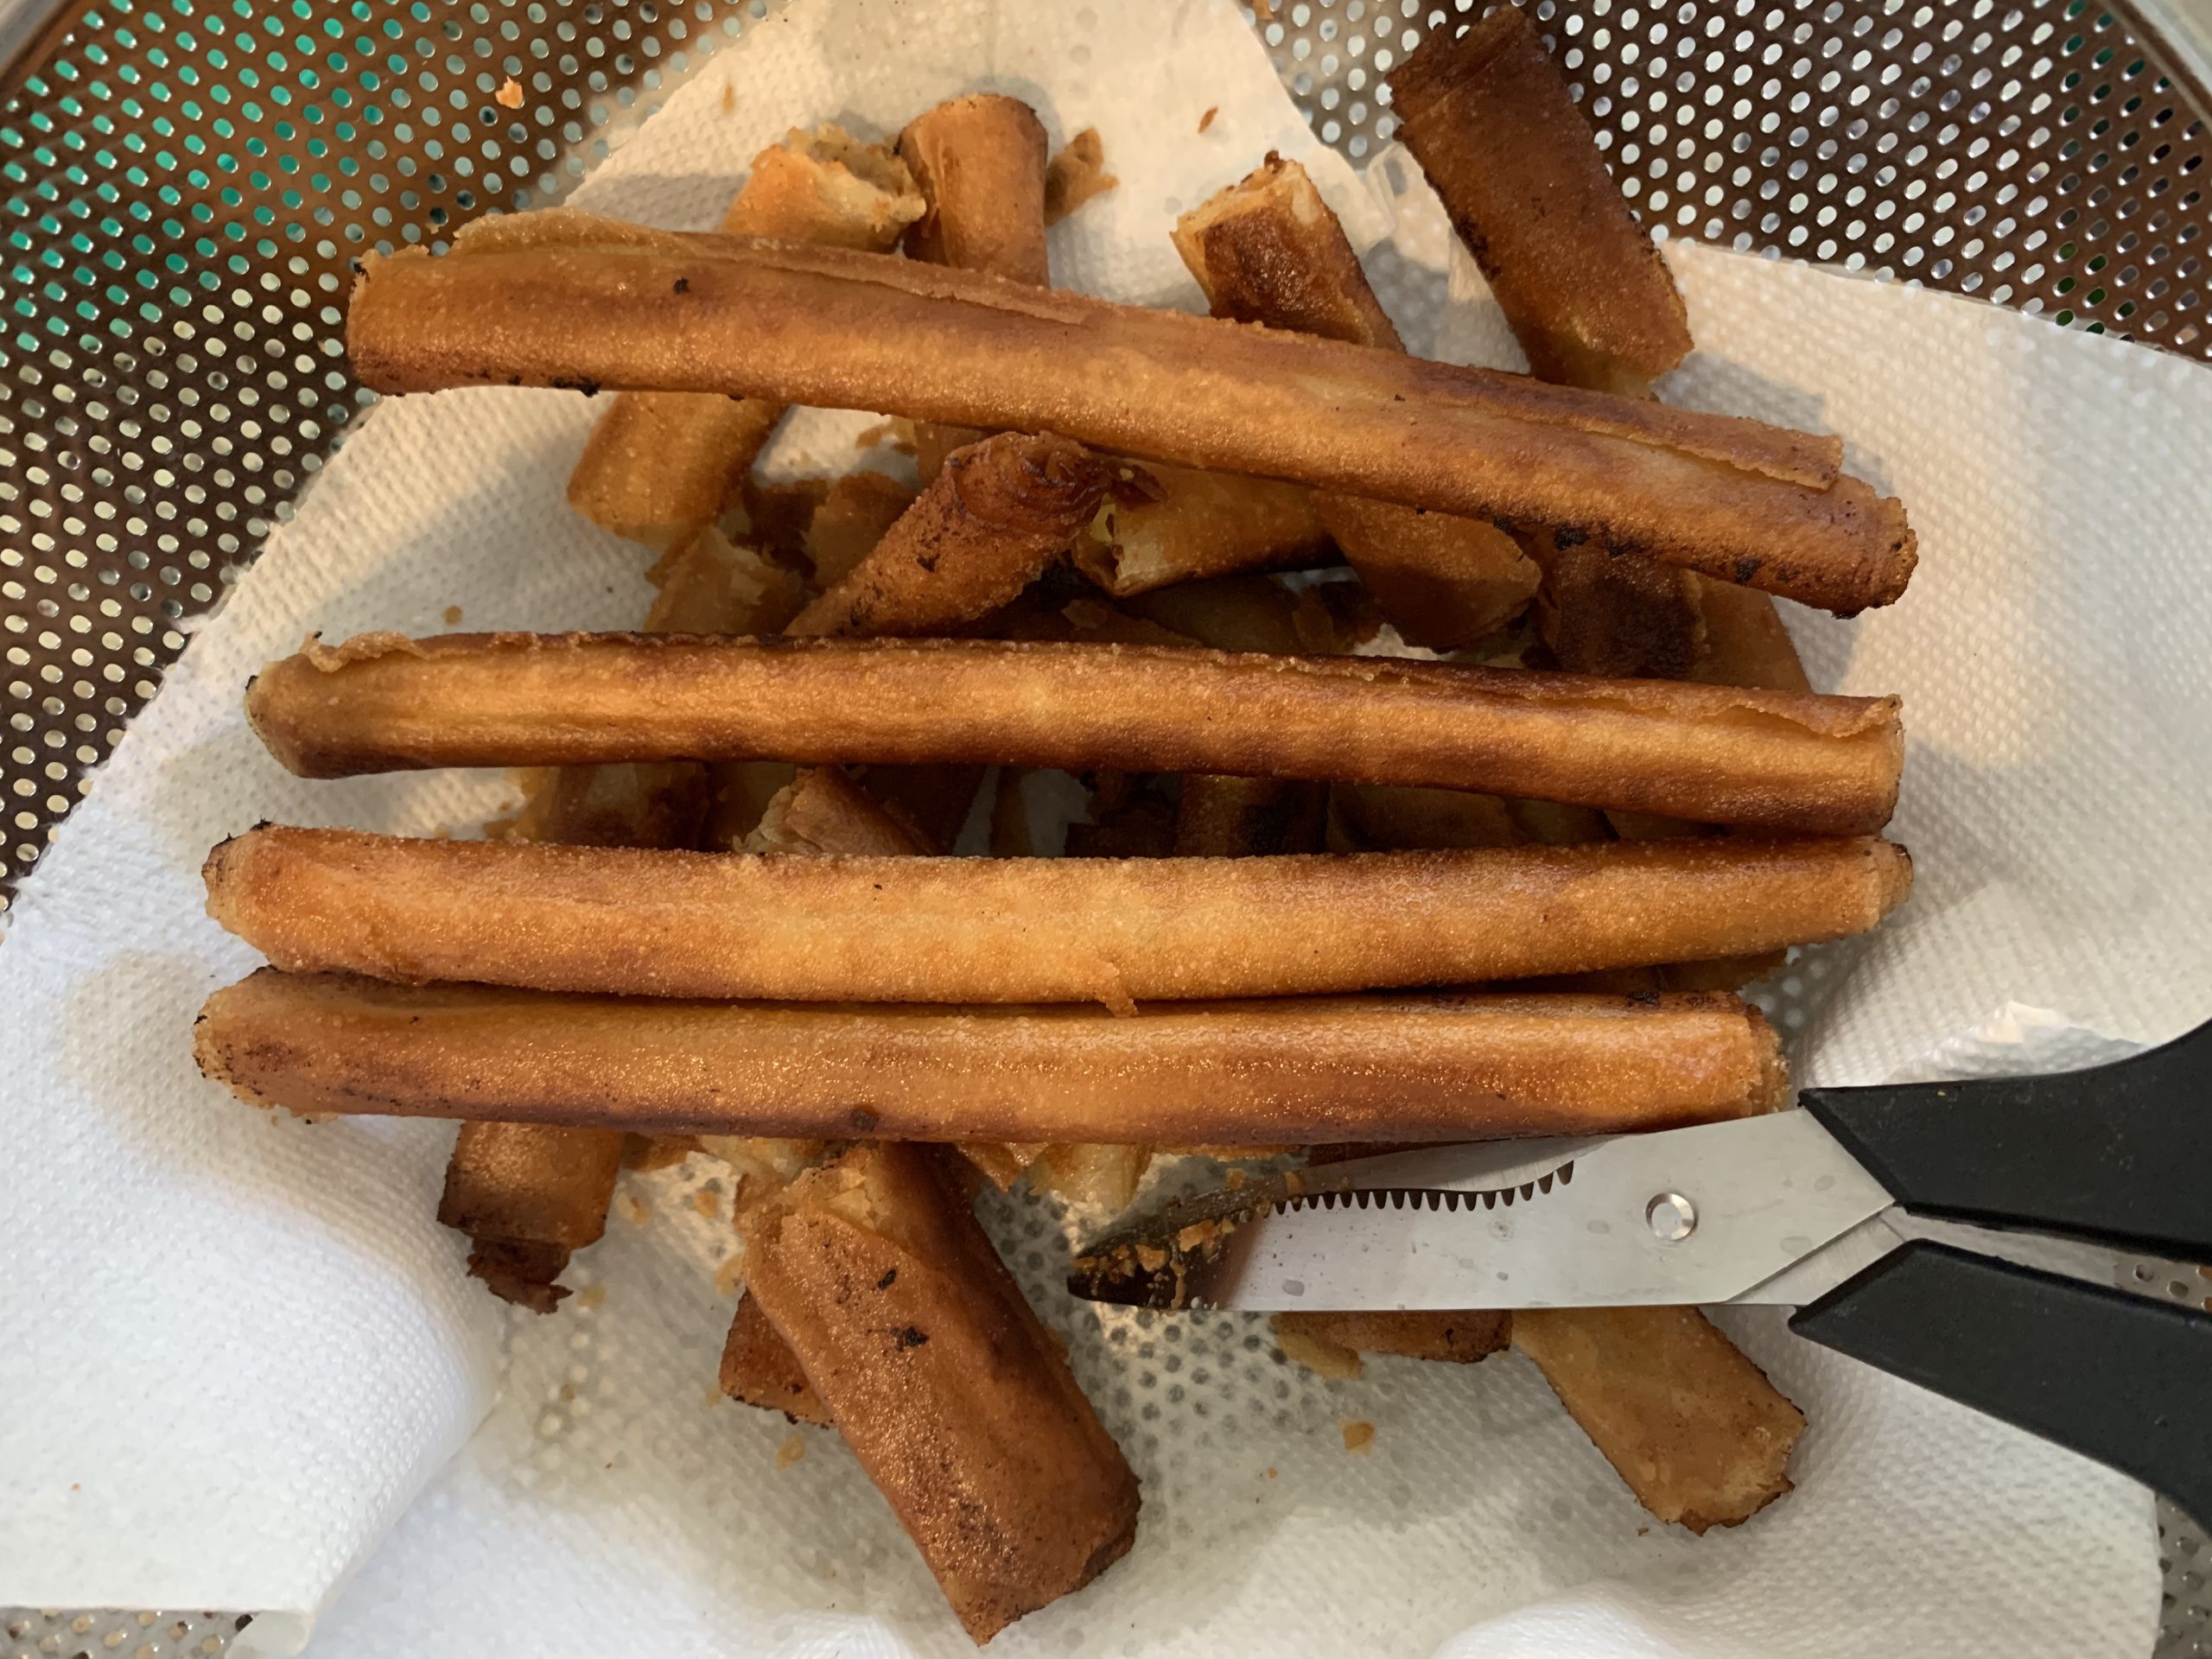
- To cook them, you have a few options. If you have a deep fryer, you can drop them in small batches and pull them out when they are golden on the outside. To cook them on a pan you simply need about ¼ inch of oil in a frying pan or cast iron skillet. Heat the oil on medium and keep a modest heat on it. You want it hot enough to fry and get the outside golden, but they can go from brown to black quickly if your heat is too high. Try one or two and start slow. Let them sit and fry for 2-3 minutes and flip when one side is golden brown. Finish the other side, then take out and either drip on a rack over a baking sheet or do what my grandma did. Lola Mommy always used a large bowl or colander lined with paper towels and sat the lumpia upright so they drained from one end. This also made it easier for me to grab them on one end and sneak one or two in passing.
- For smaller servings, cut them in half or thirds with a pair of kitchen shears. Or eat them whole I like I do. Some serve them with ketchup, sweet chili sauce, or sweet & sour sauce. My guilty pleasure was having them with a mix of mayo and ketchup or a spicy mayo-siracha mix. Don’t judge me.
I hope this recipe brings you as many memories and full bellies as it has for me. I love you Lola Mommy.
Kain na tayo! (Let’s Eat!)